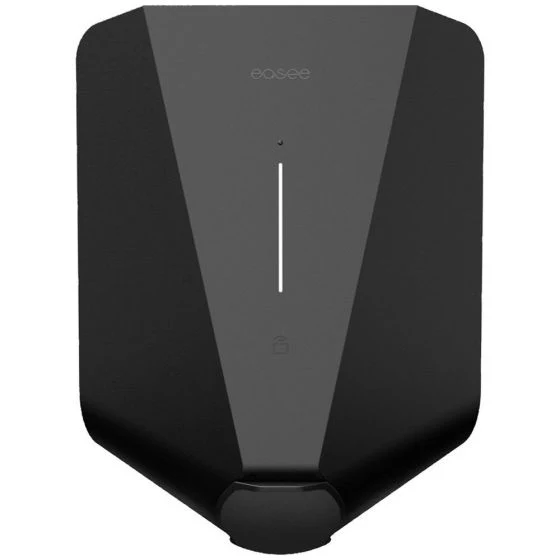
A compact 7.4kW smart charger that works tethered or untethered from the same unit and can run three chargers off a single fuse with automatic load balancing. Built-in eSIM, RFID access control, and PEN fault protection (often skipping the need for an earth rod) round it out, though solar support needs the optional Equalizer add-on.





Once you have installed and powered on the charger, download the Easee Installer App.
https://easee.com/en/products/services/installer-app/
Once logged into the Easee Installer App, click “Create new site”
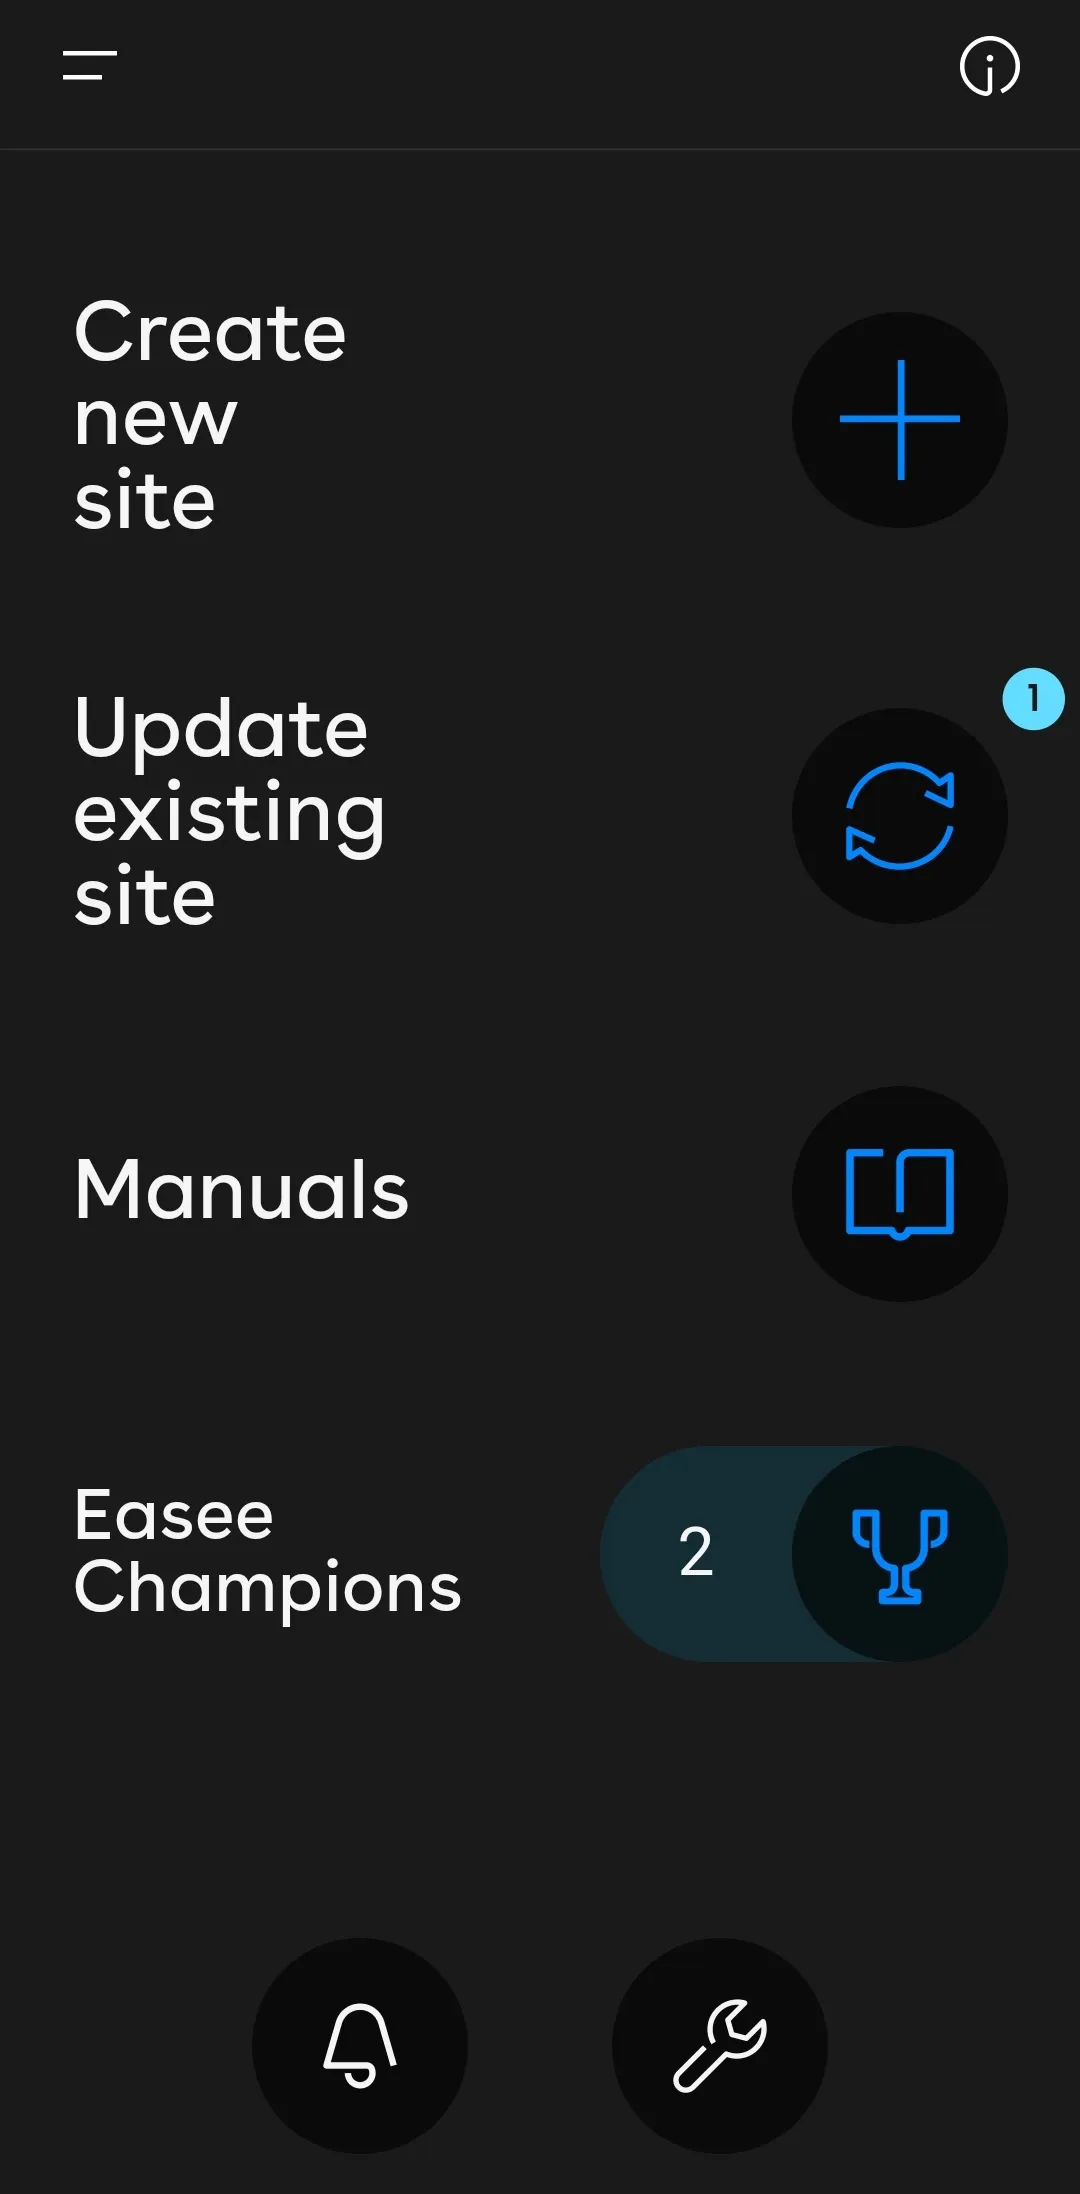
This will depend on the number of chargers. Please refer to Easee's guide for selecting SDU or MDU. Once you have entered the site information, proceed to the next page.
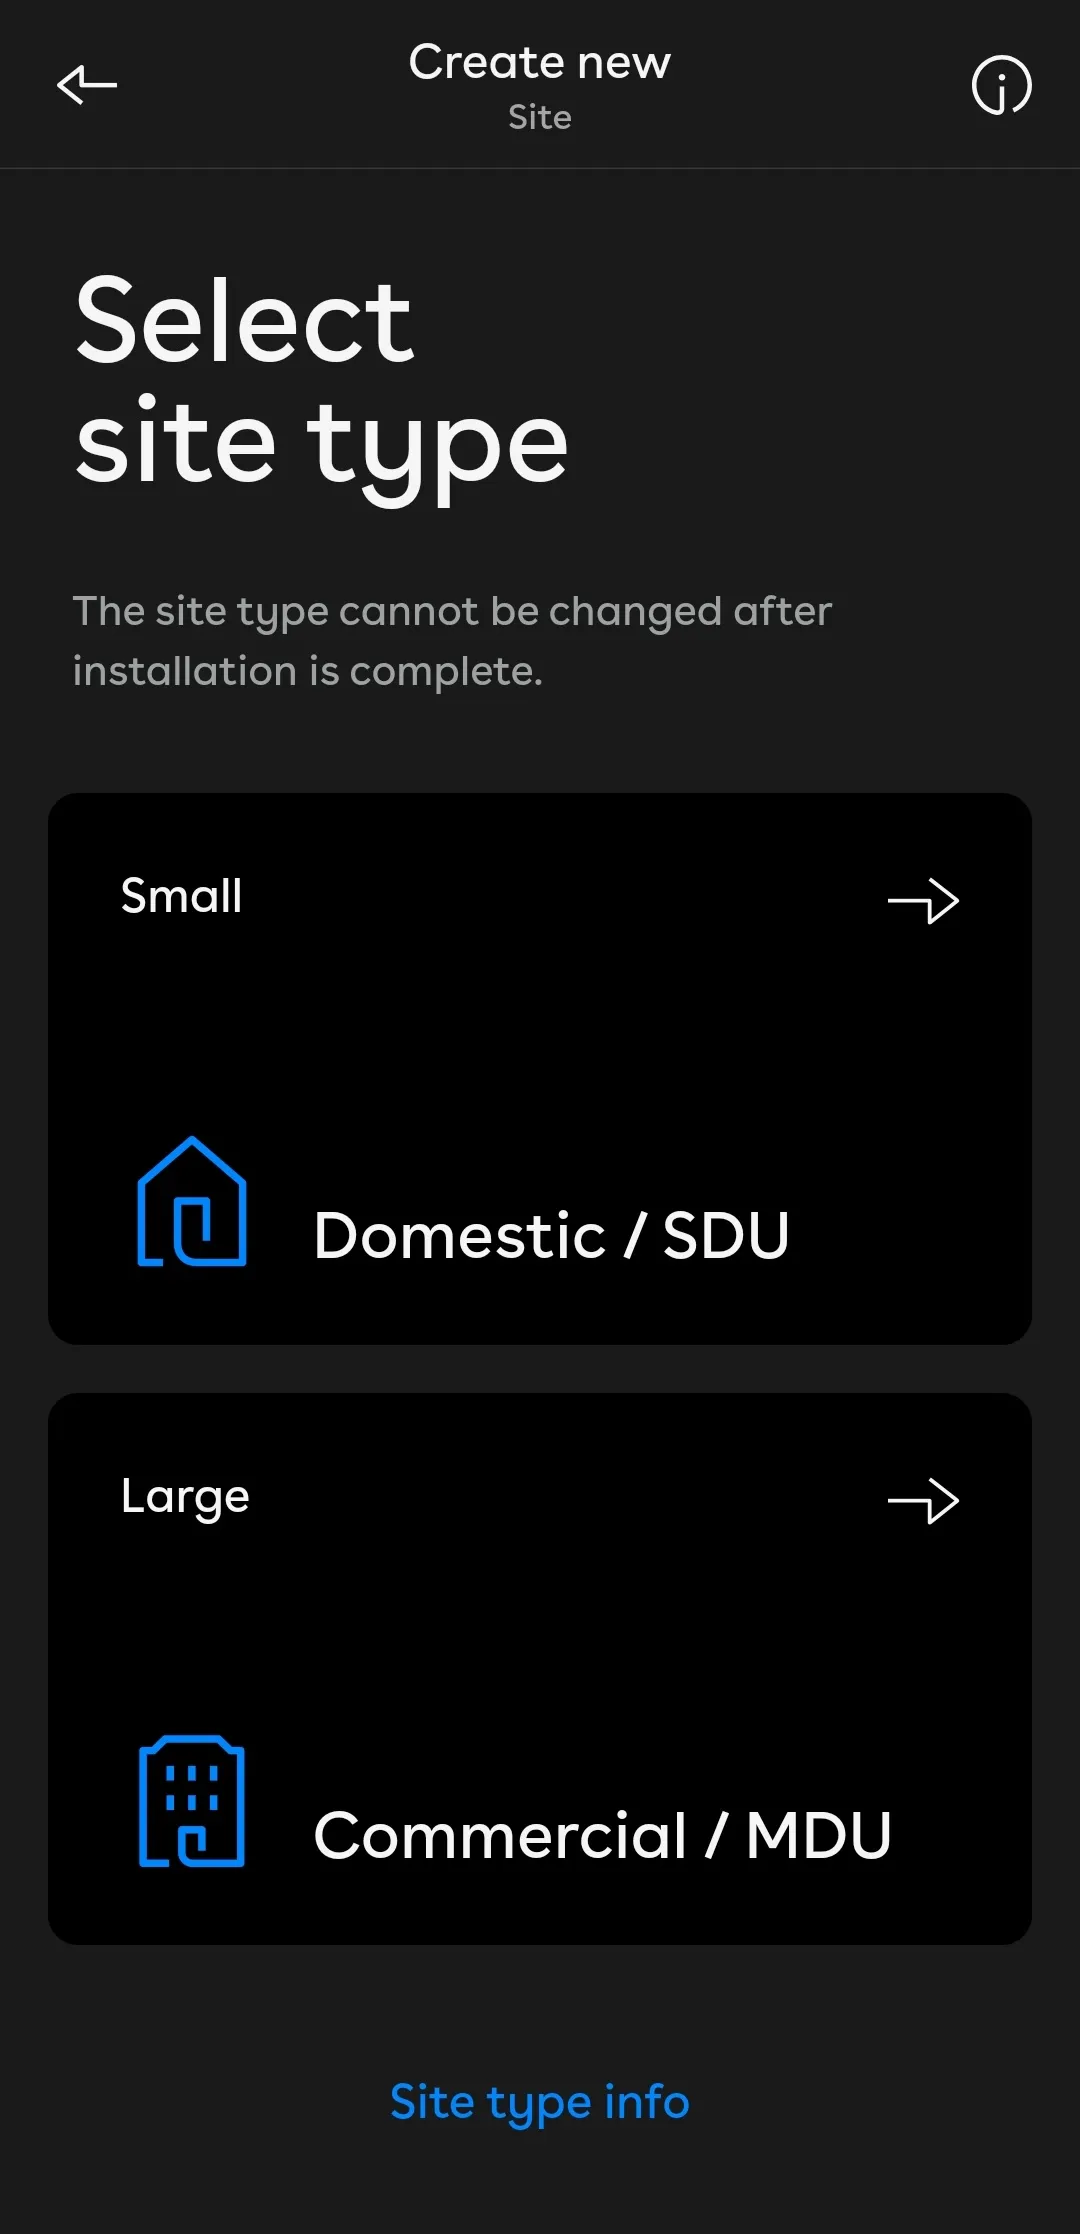
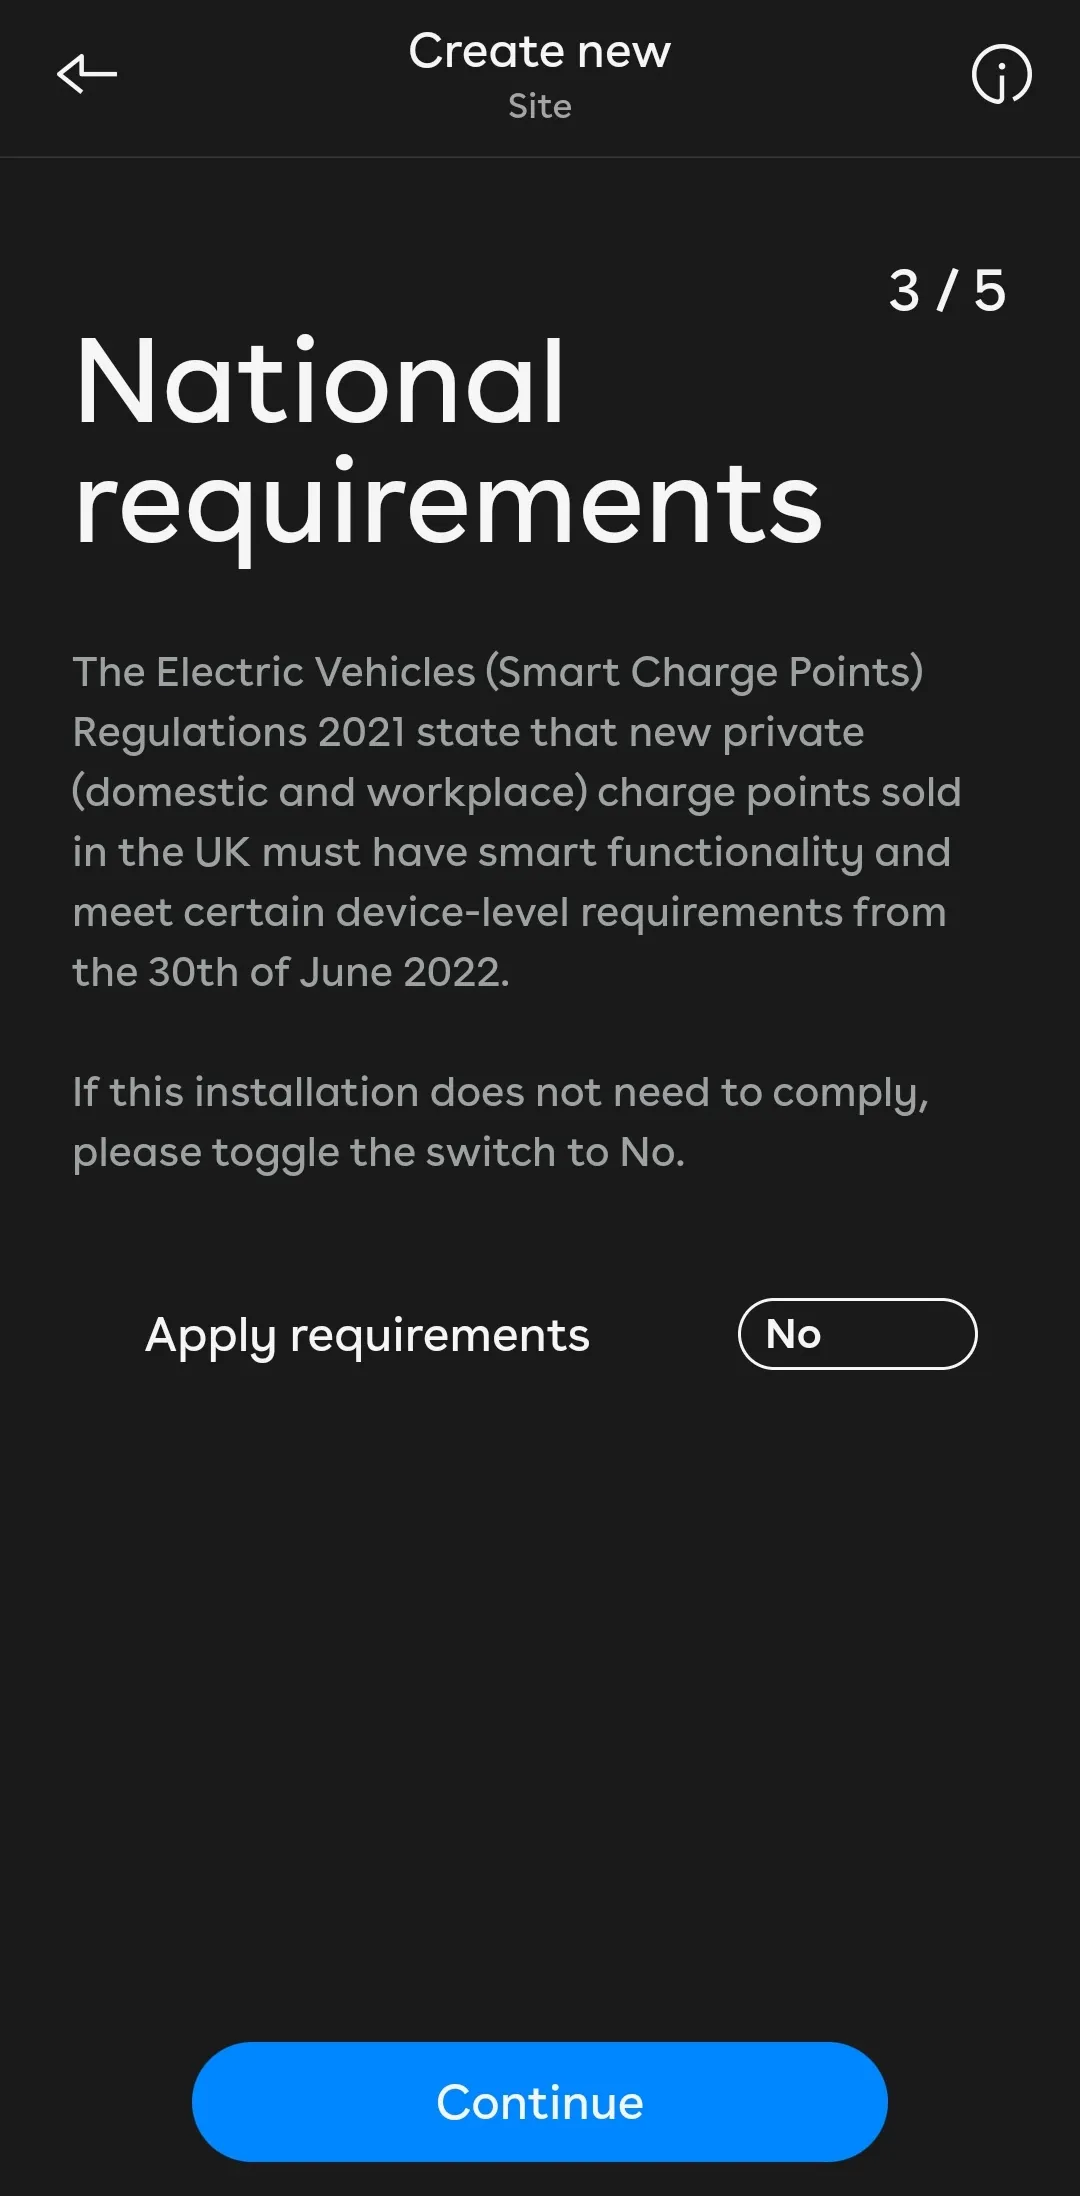
Please ensure you toggle off the National requirements as shown below.
Important: if this is not done, it will interrupt the integration with voltshare.
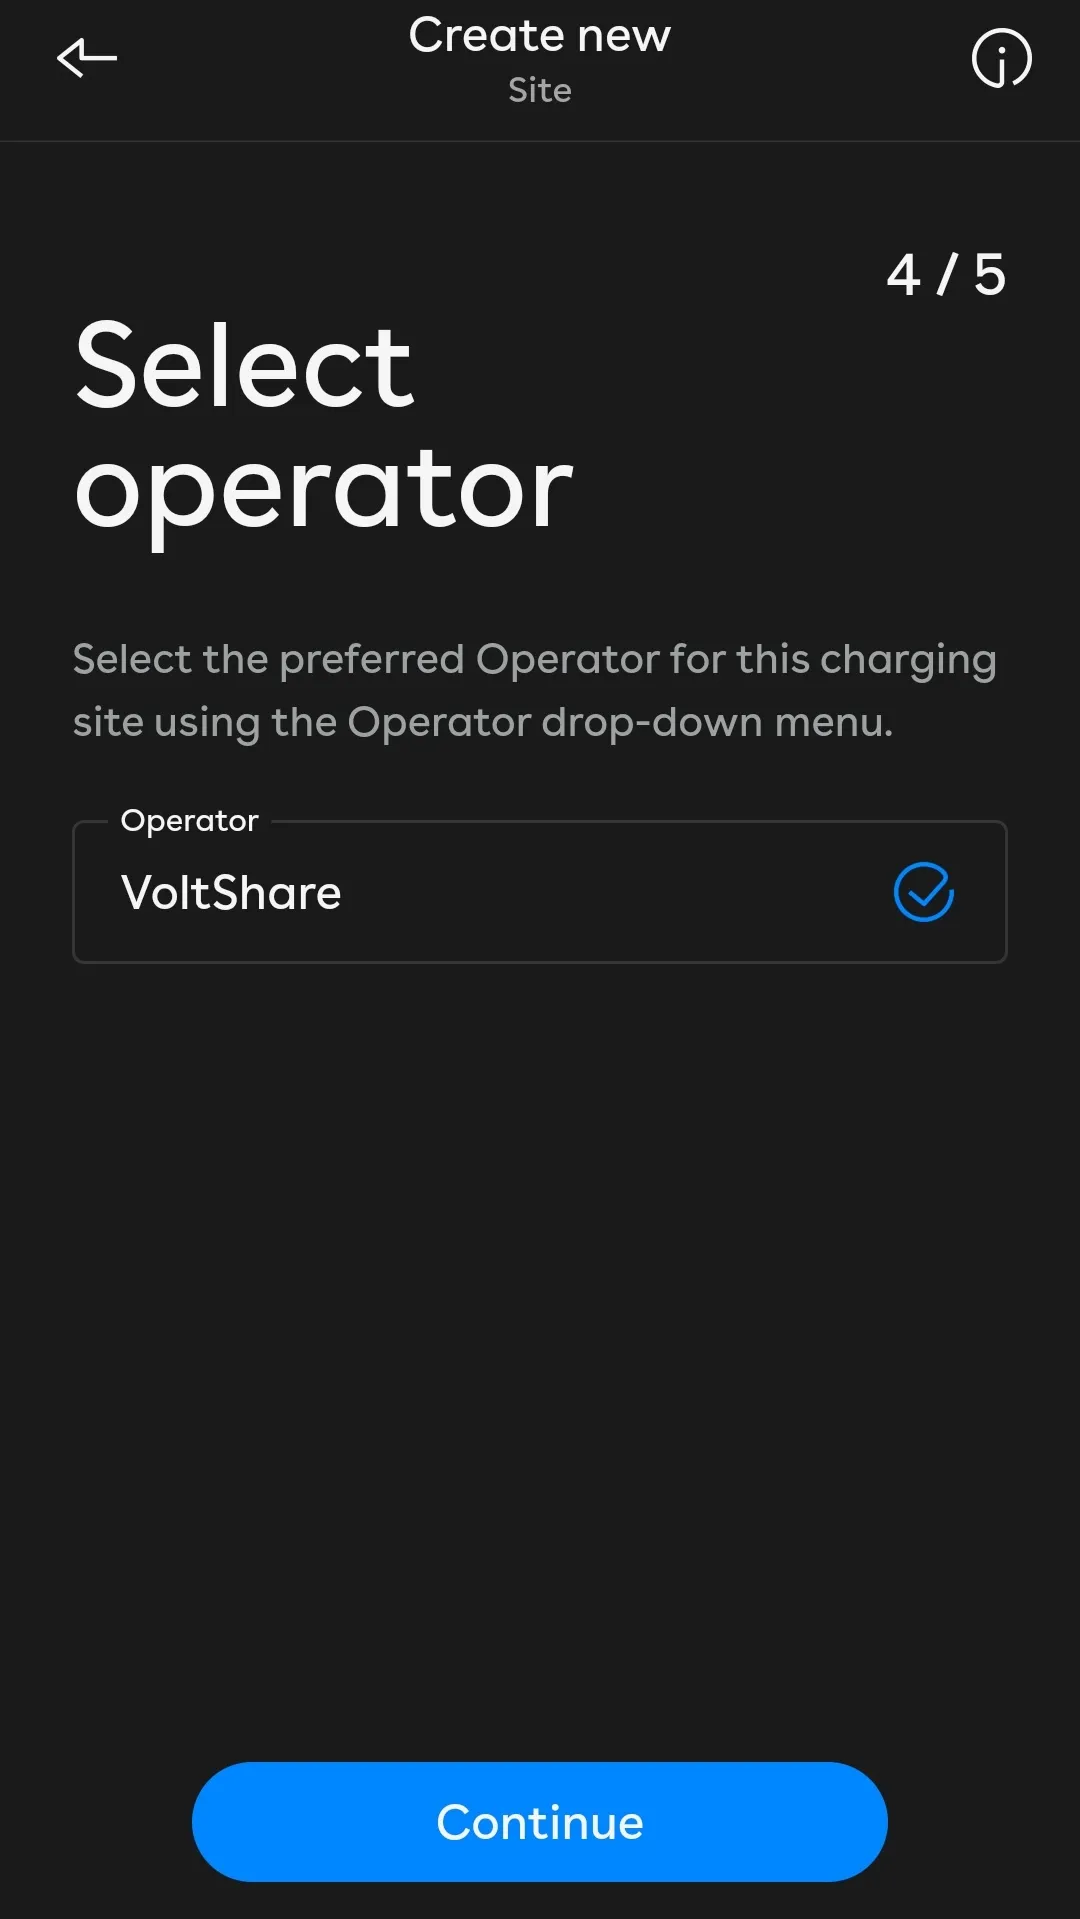
Search and select voltshare under the "Select operator" list
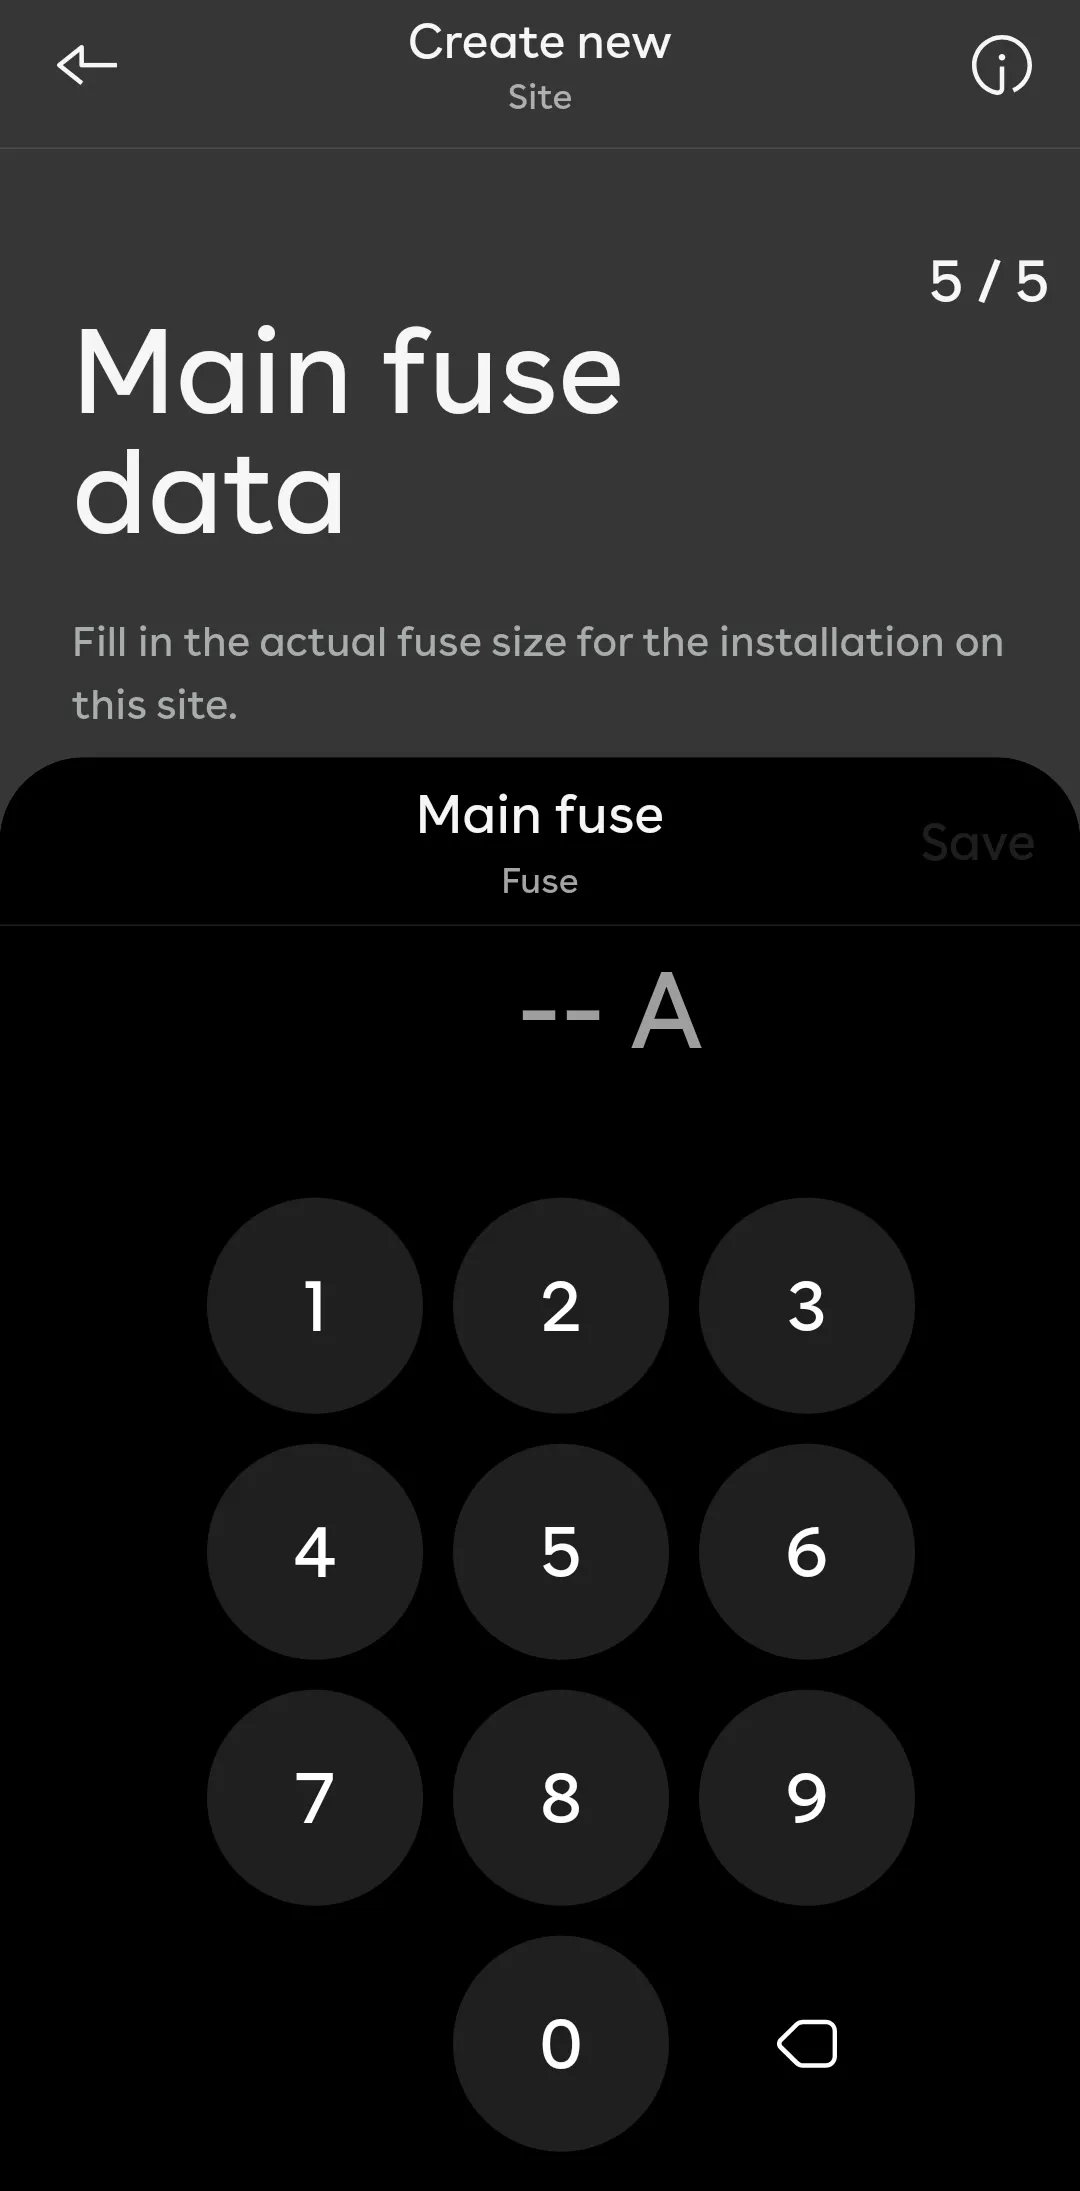
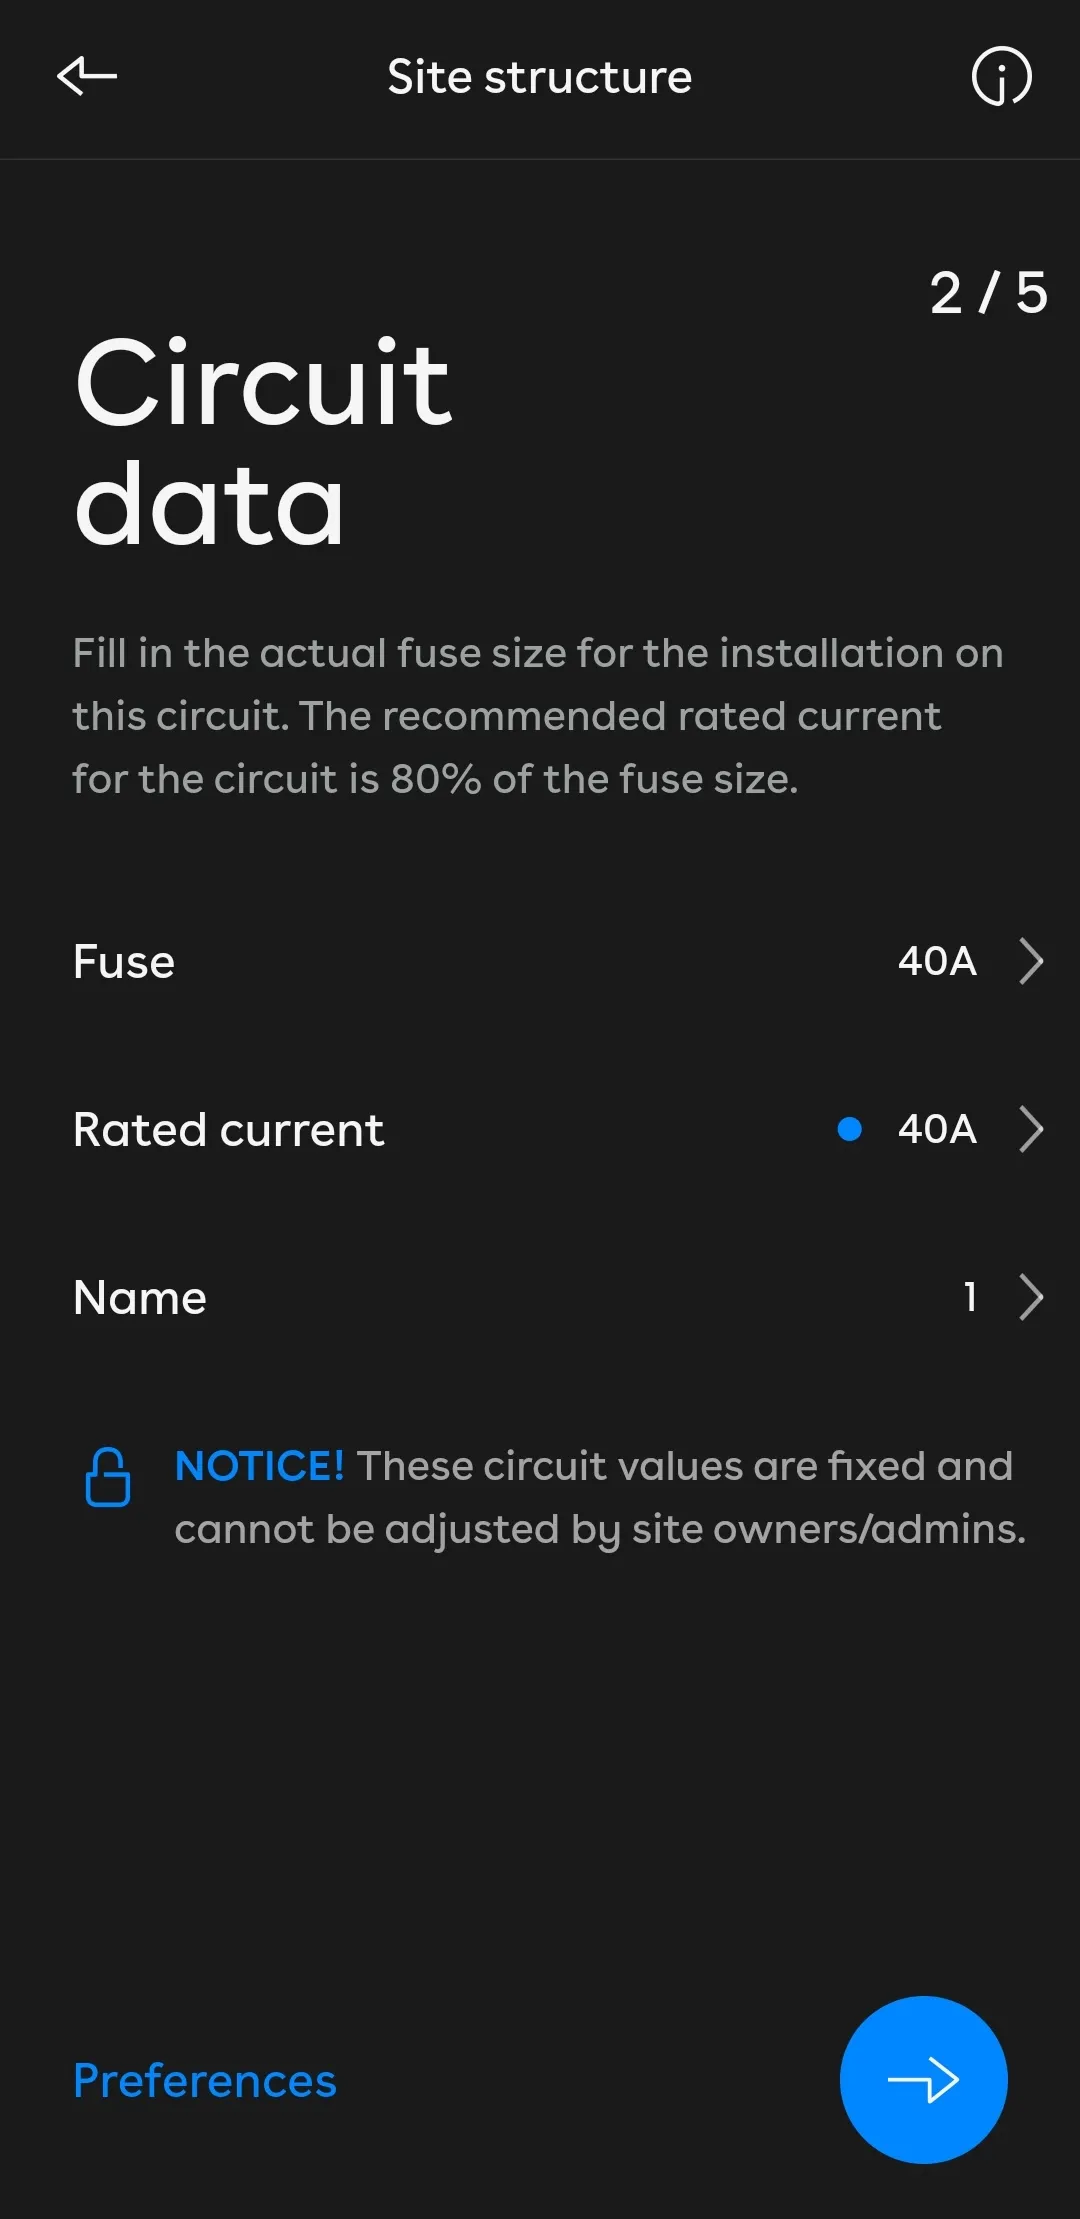
The next few steps will require you to set up the electrical infrastructure settings such as main fuse and circuit fuse ratings.
Important: this must be completed by a qualified electrician. Do not attempt to configure your Easee chargers otherwise as it may invalidate the warranty and result in faulty operation of the devices.
While Easee chargers come with 4G eSIM integrated, we do recommend providing Wifi connectivity as backup. This helps ensure smooth operation should there be faults with local mobile network carriers.
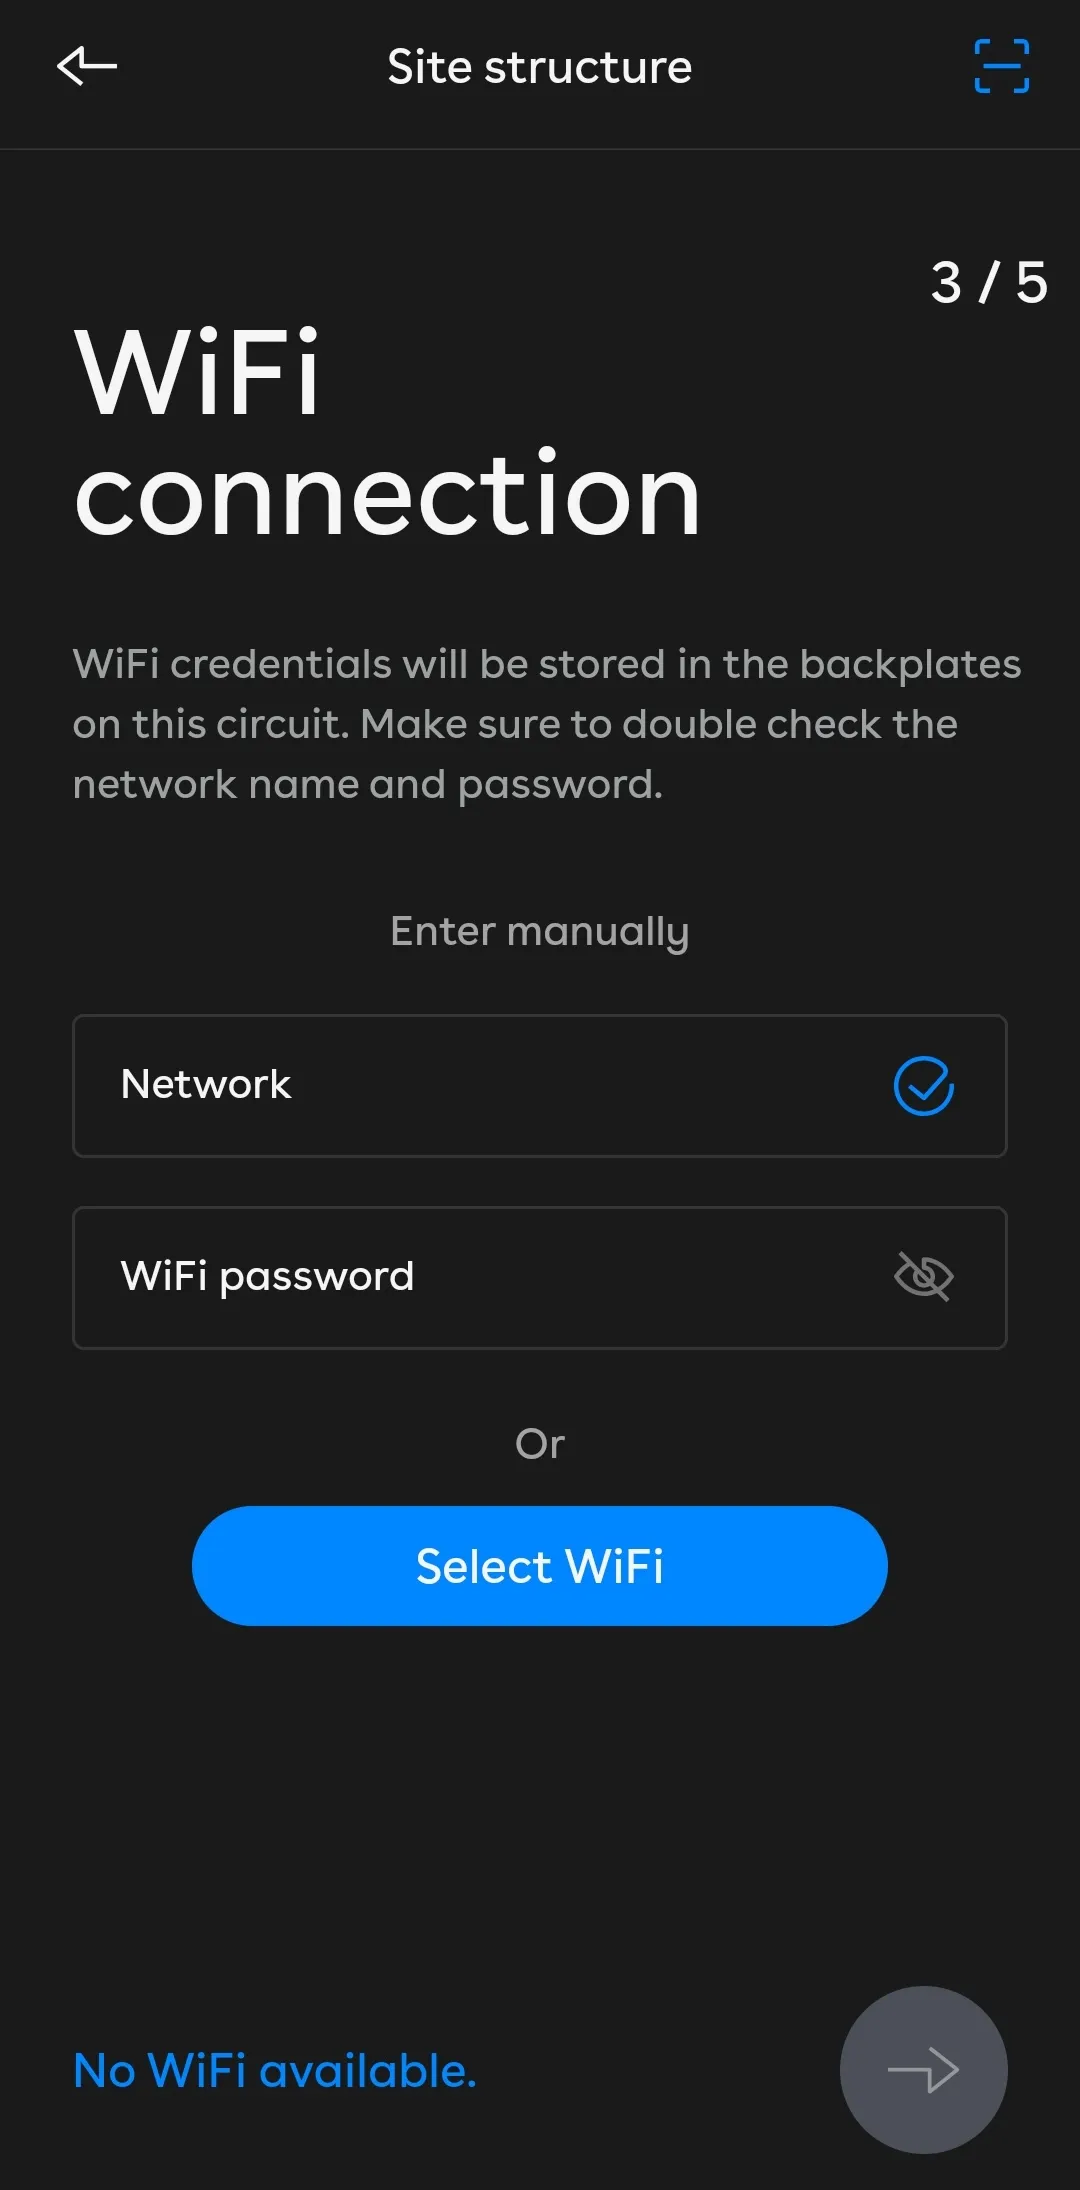
Register the charger to the site on Easee, this can be done via NFC on your mobile or bluetooth. The method below shows the NFC method; ensure NFC is enabled on your phone, otherwise utilise the Bluetooth method instead.
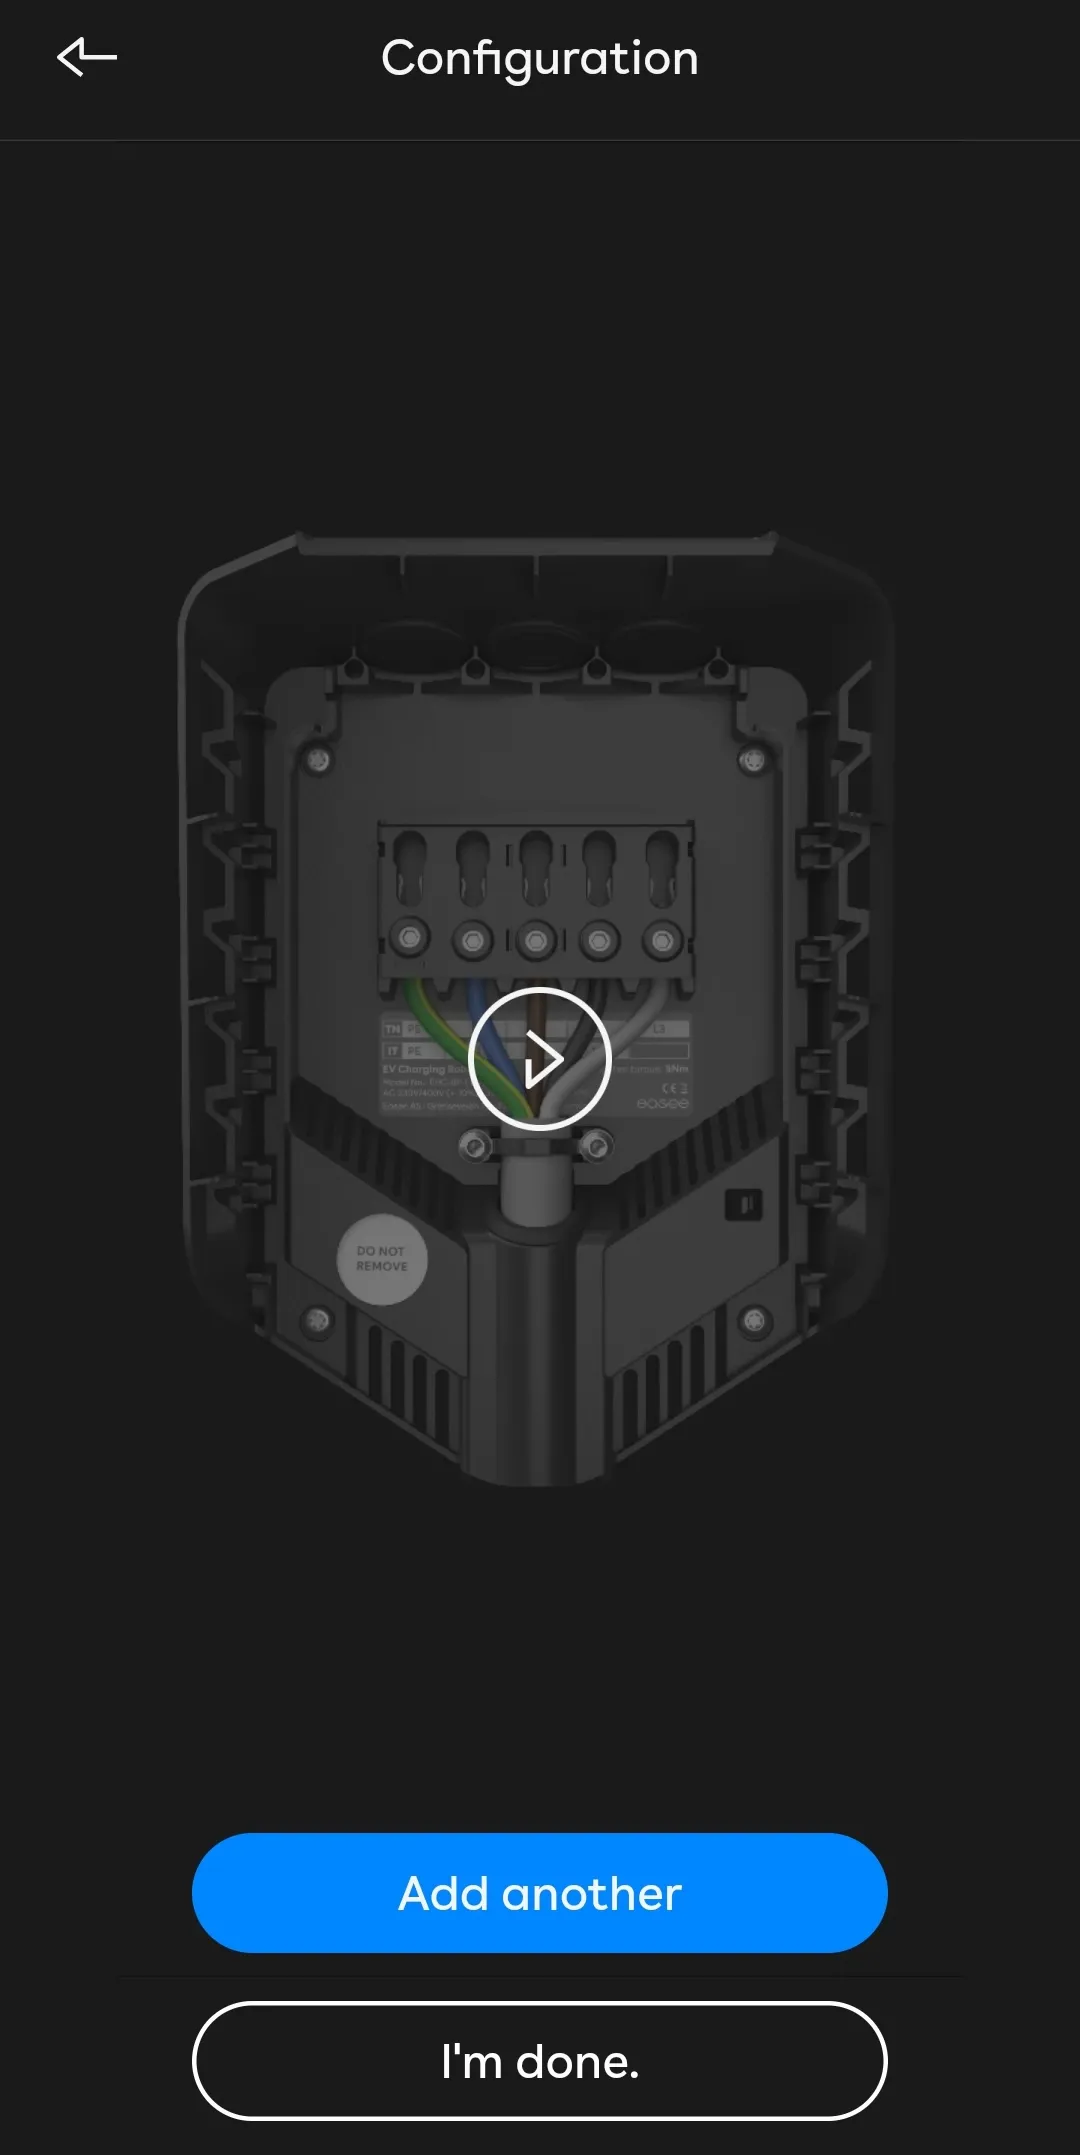
Follow the on-screen prompts. The NFC tag on the Easee charger is on the backplate.
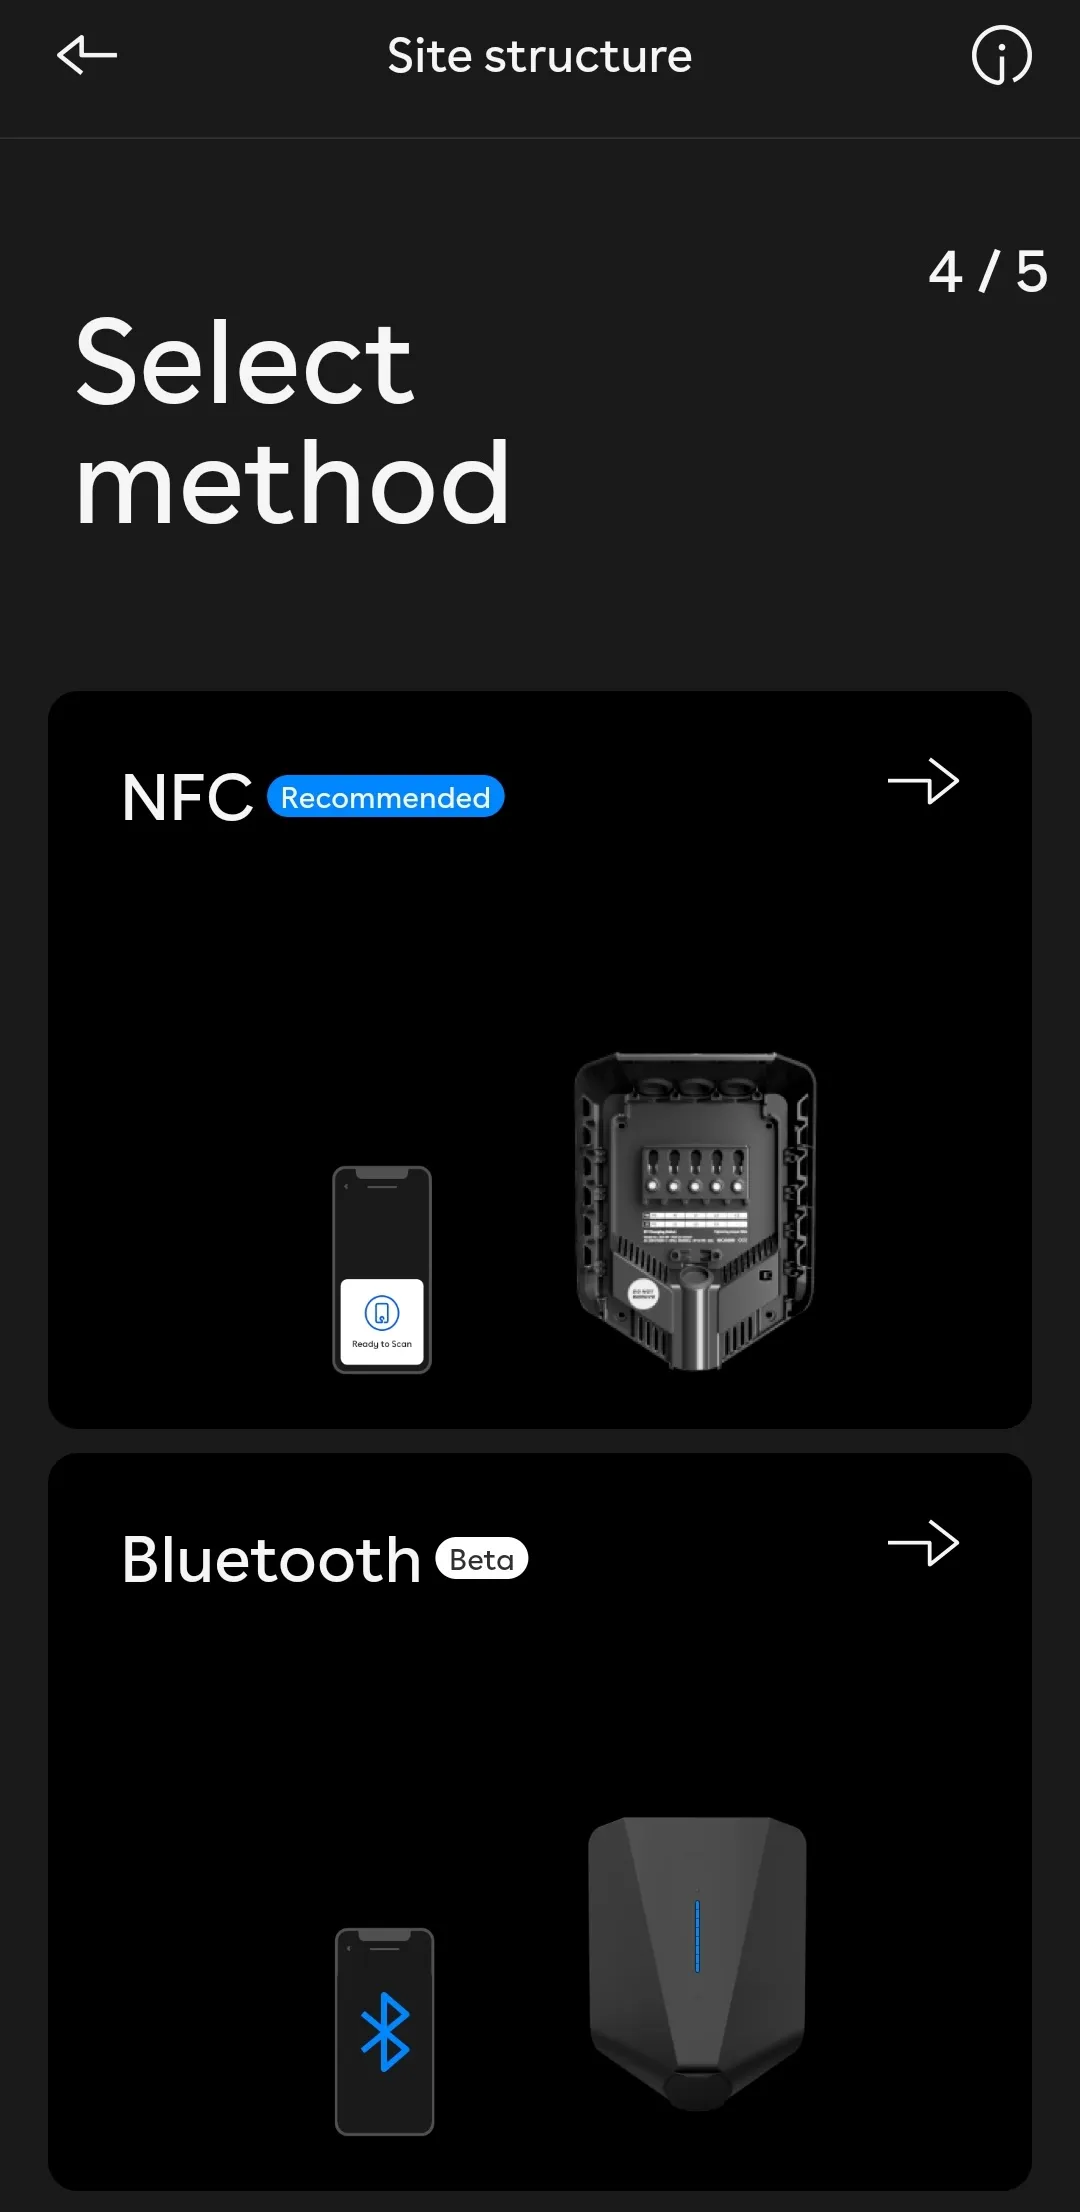
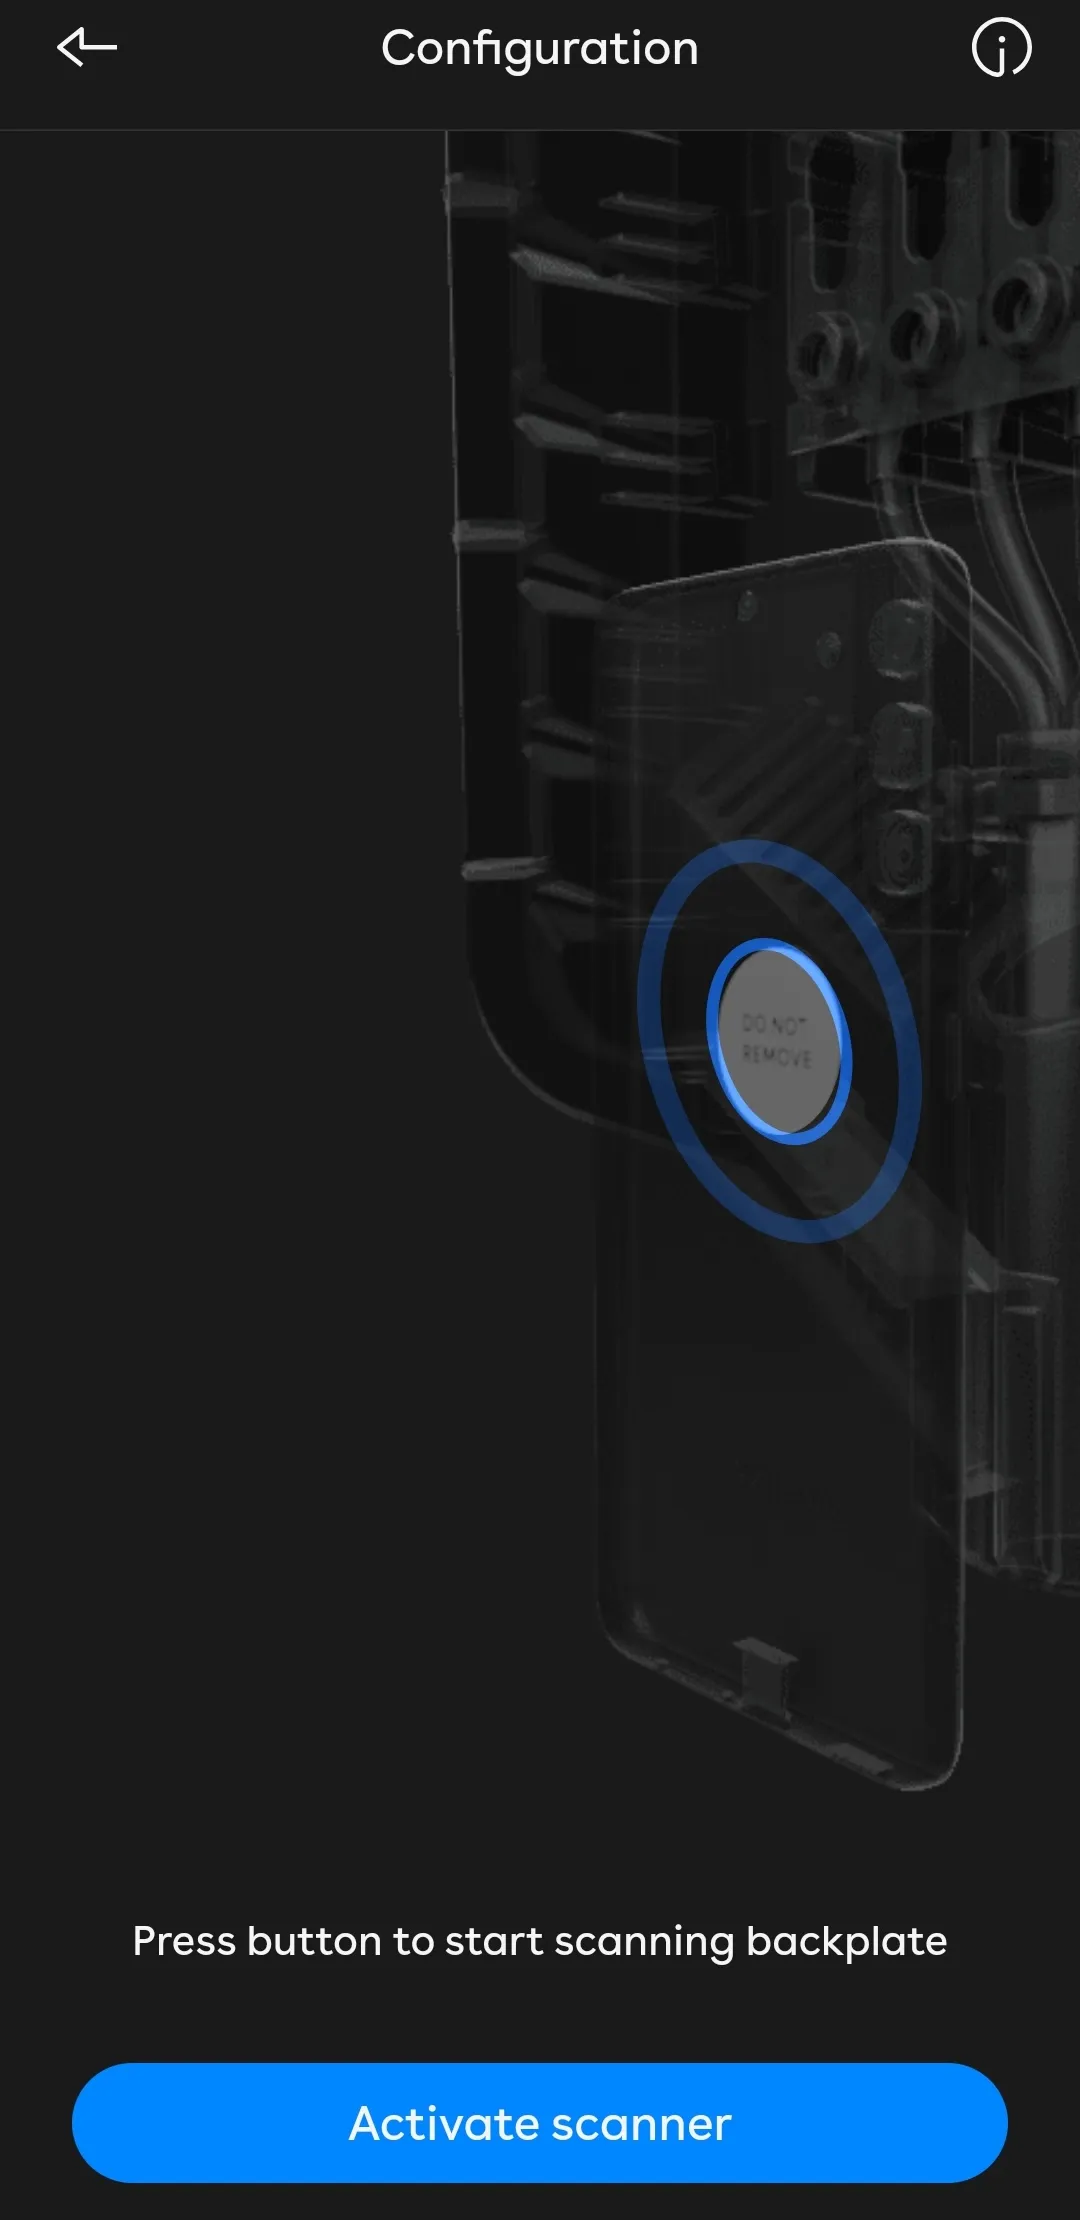
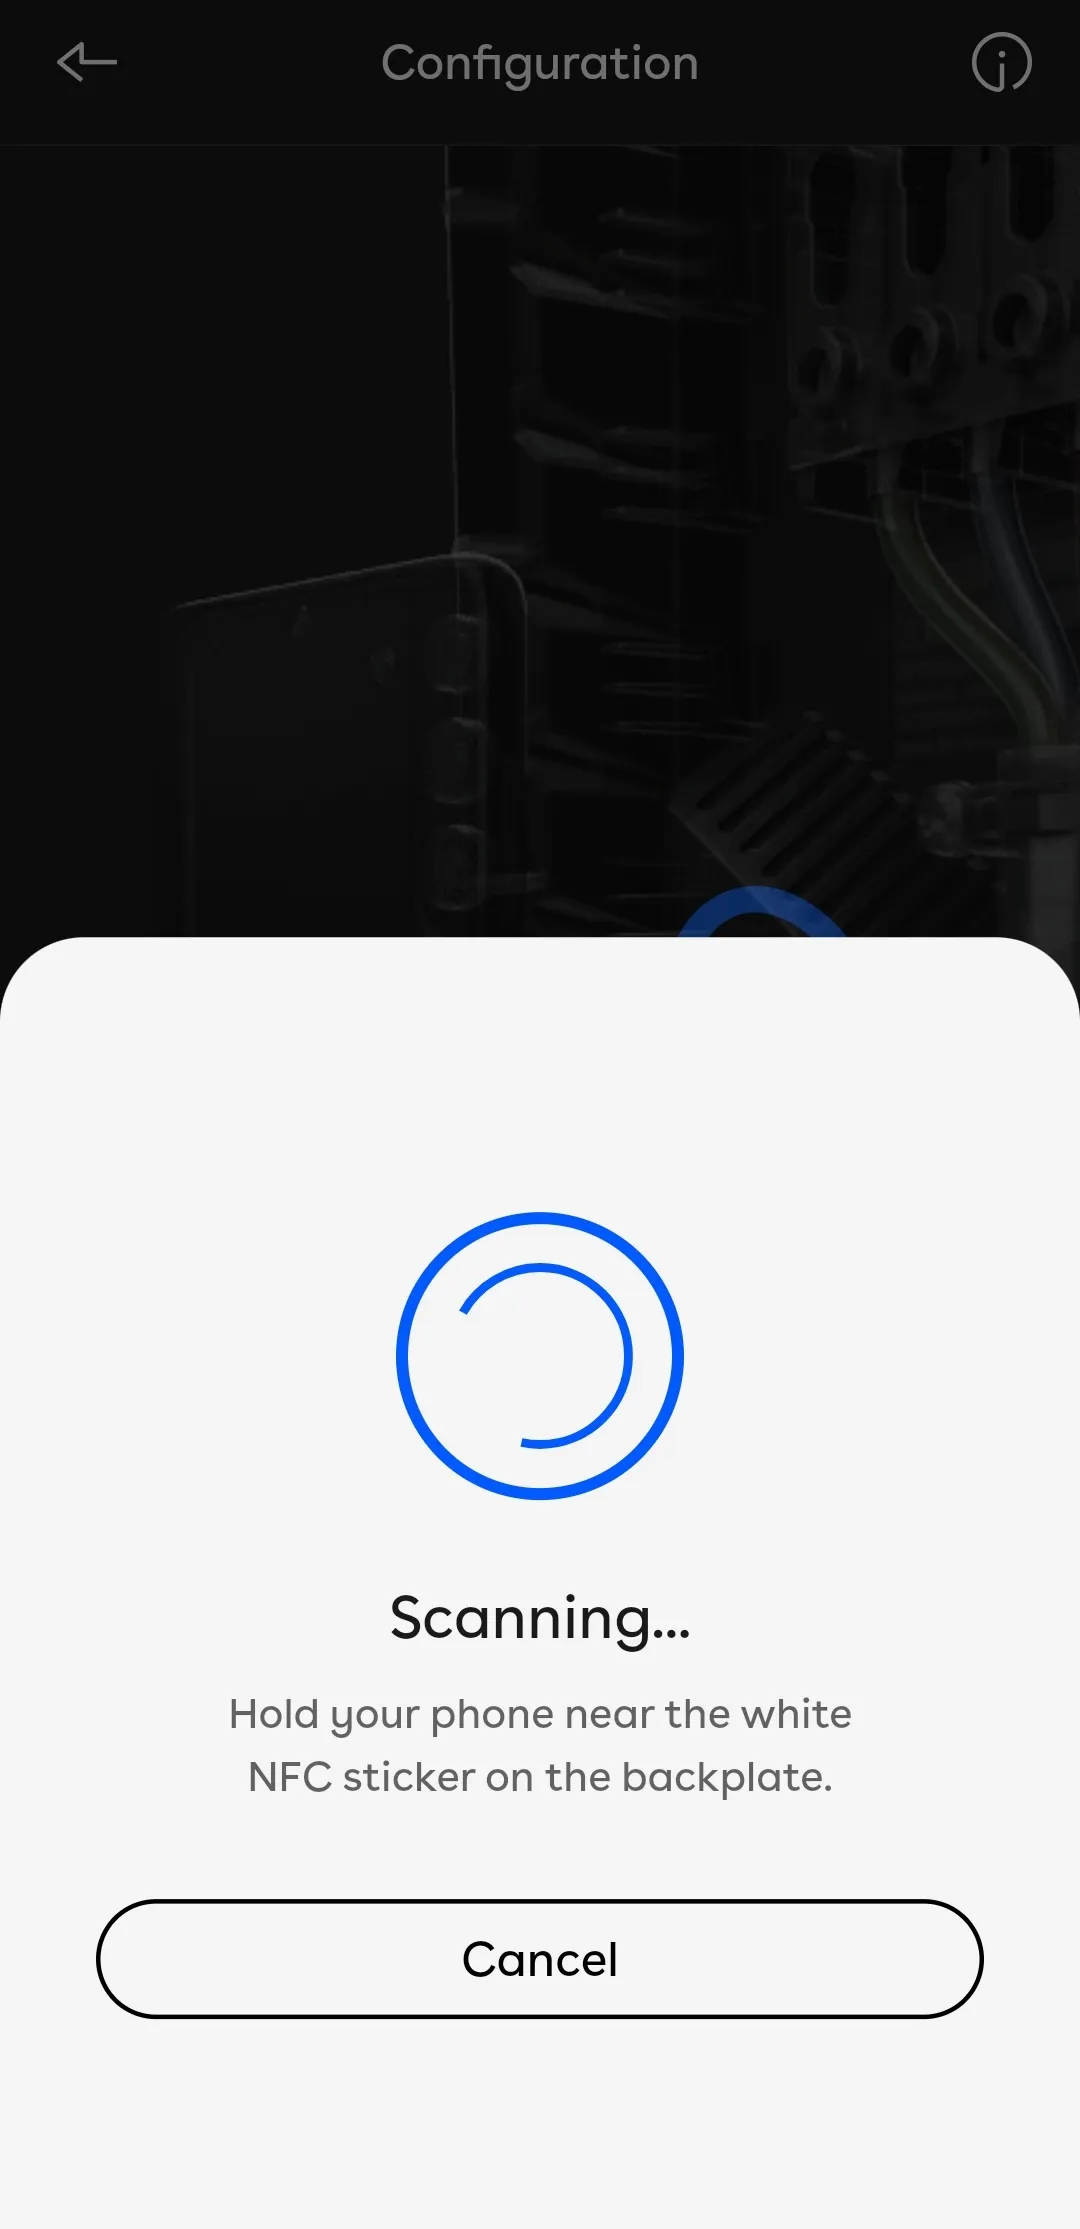
Once you've managed to add the charger via Bluetooth or NFC, you'll need to provide a position name. This should be descriptive (e.g. Left, Right or Garage for instance) which will help us better identify the charger location when dealing with support queries.
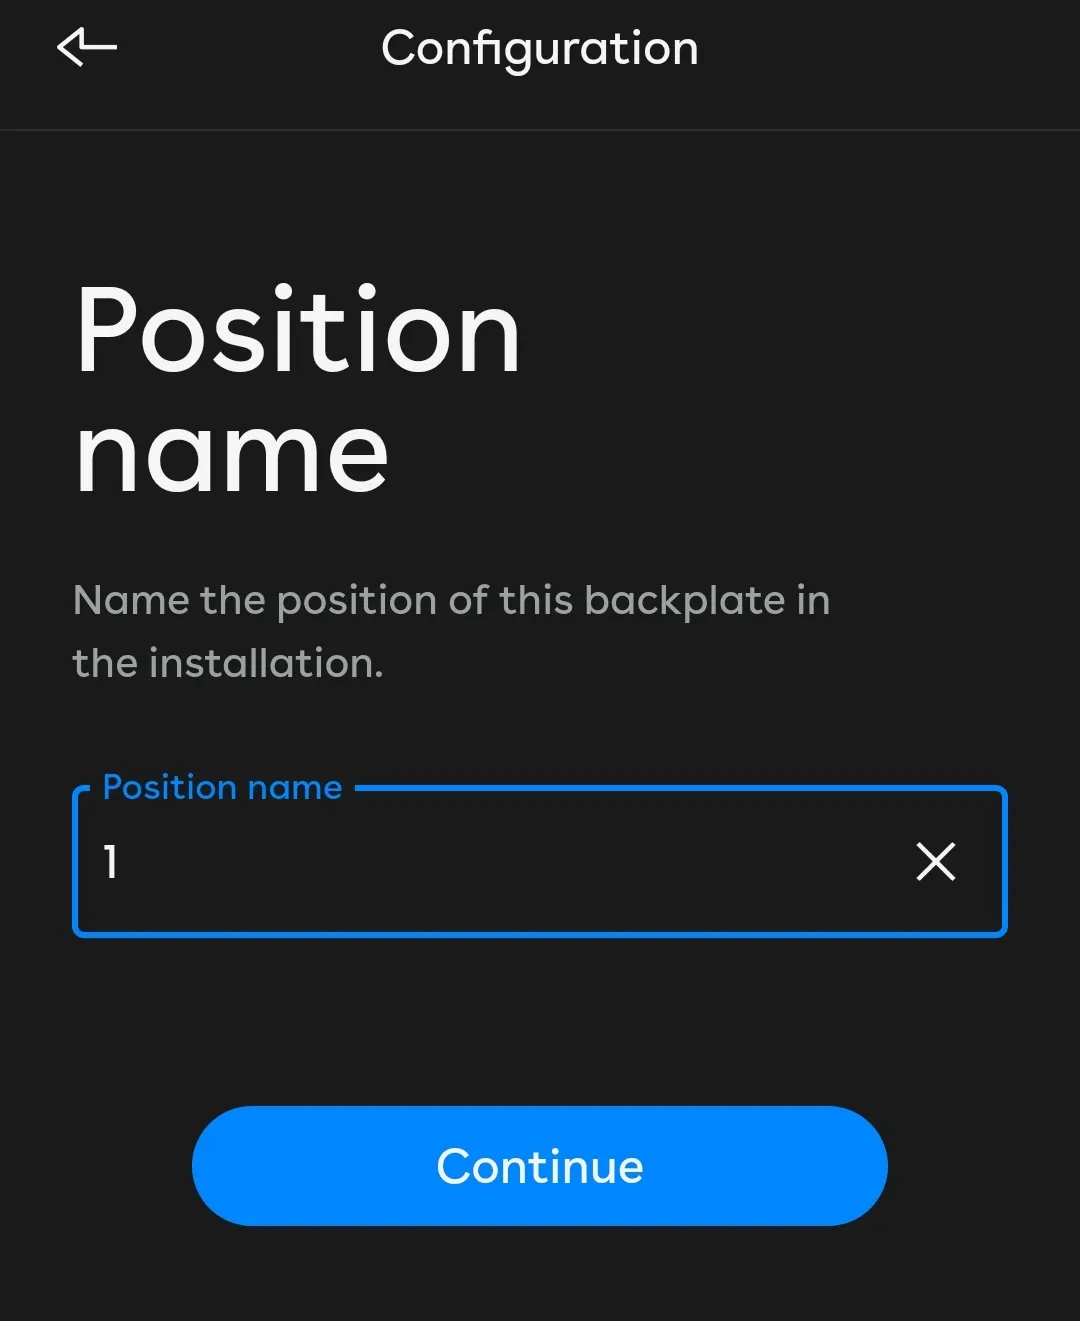
Continue the process of adding more chargers if applicable. Otherwise, click on "I'm done"
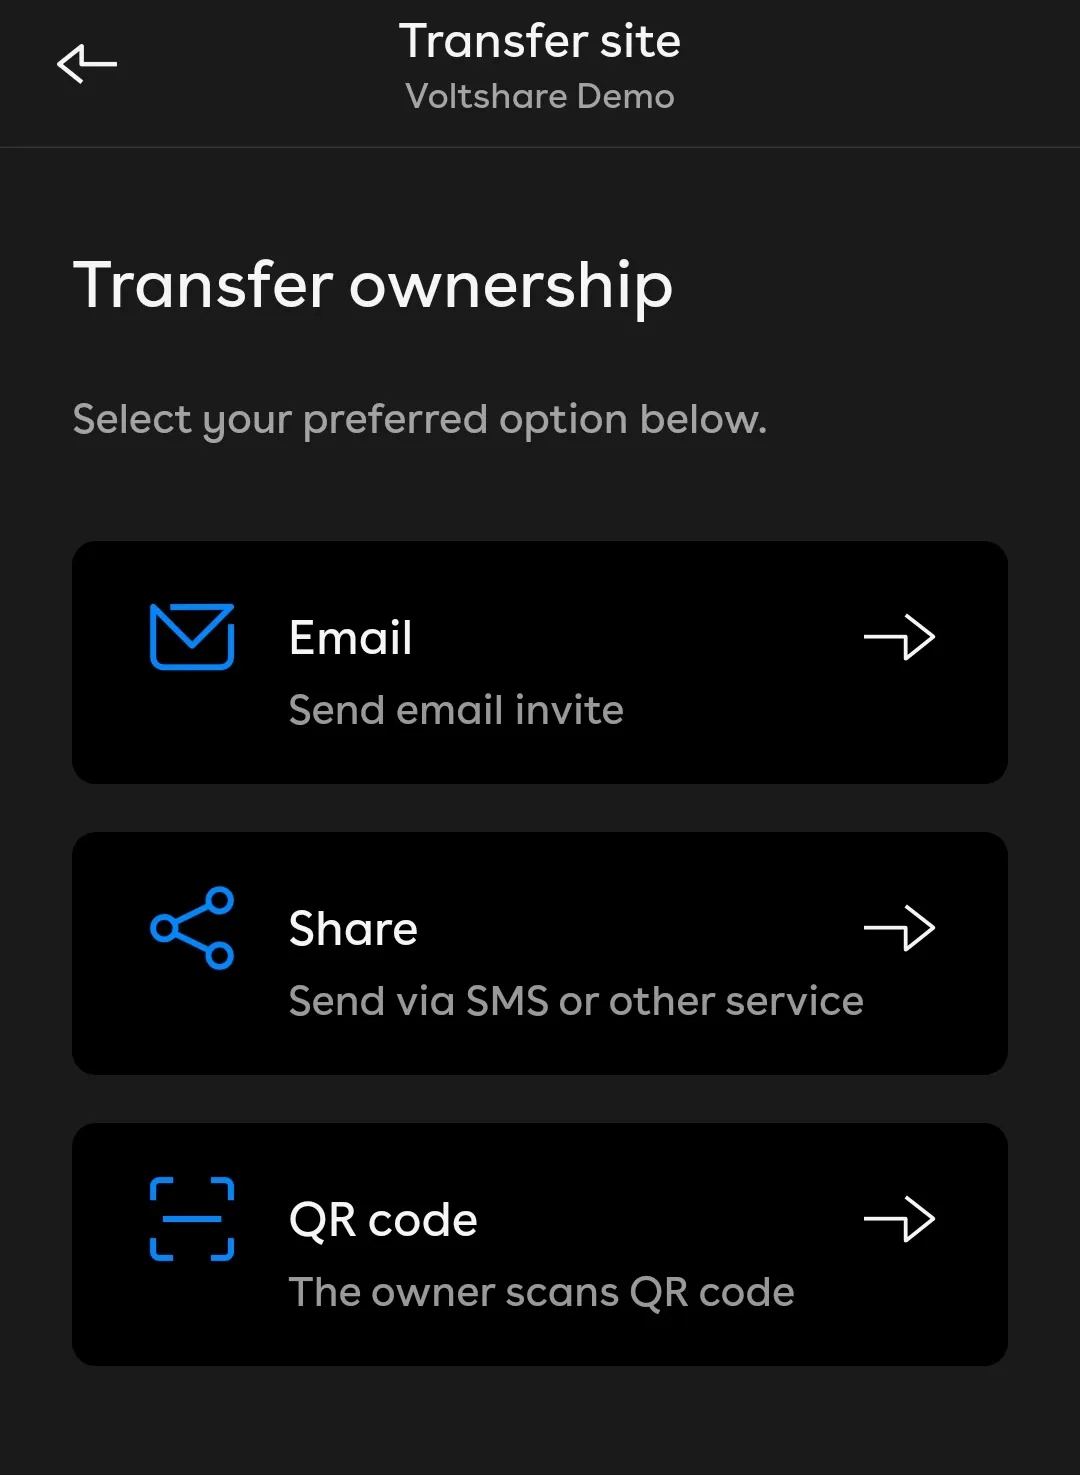
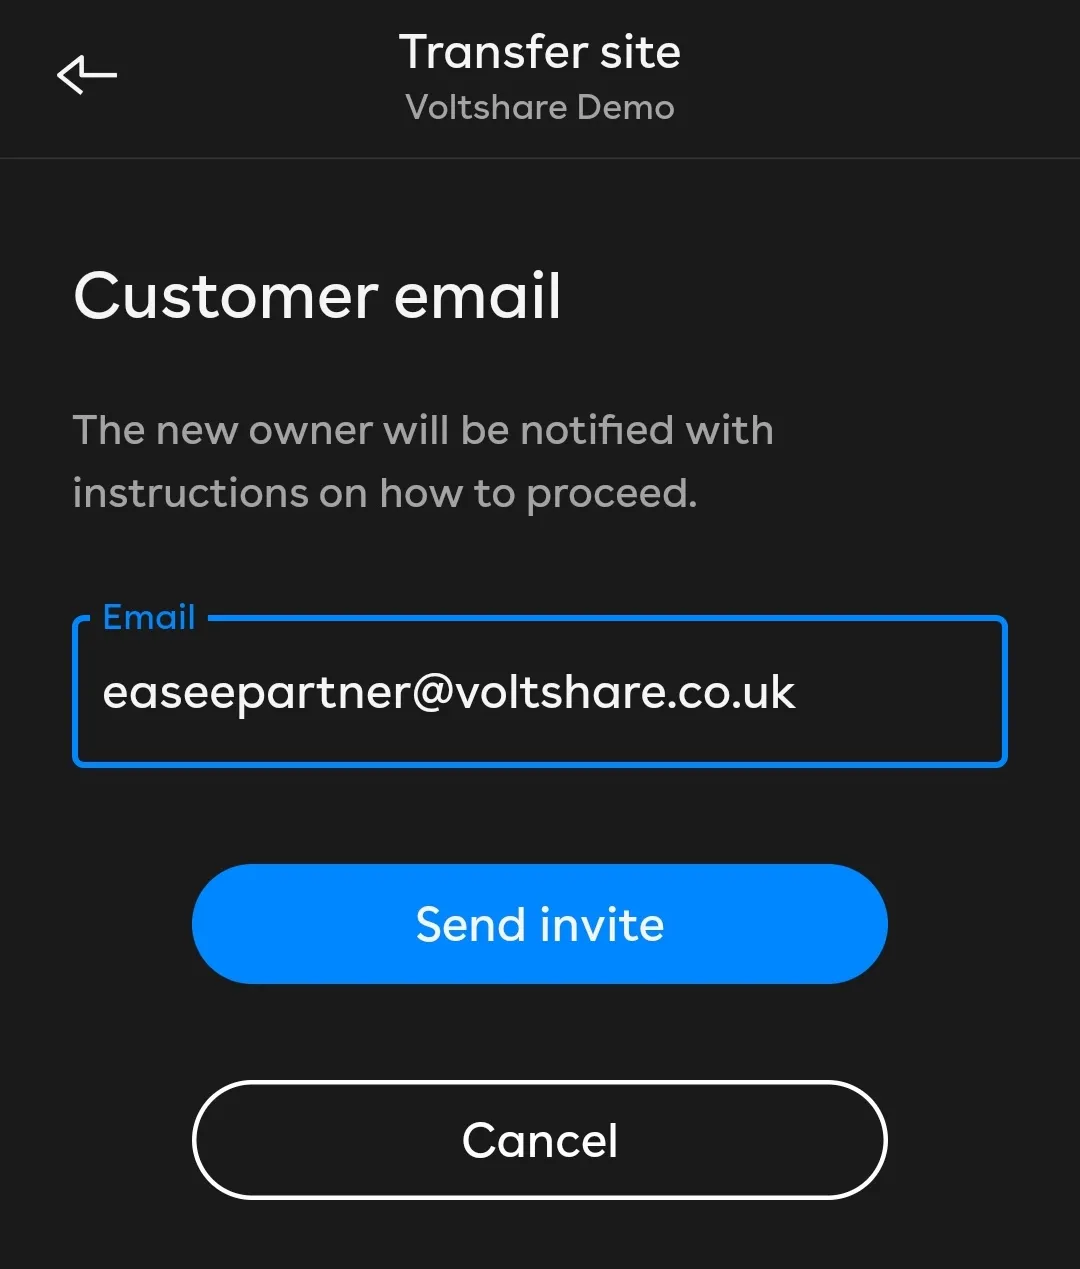
Once you have completed, select email transfer and send it to easeepartner@voltshare.co.uk
We will need to accept this invitation.

Place the QR code sticker on a flat surface of the EV charger; we cannot guarantee a seamless driver experience if the QR code sticker is placed elsewhere e.g. do not place it on the wall or on the post.
Affix the aluminium di-bond sign on the wall or post; this provides the driver with clear instructions on how to charge; as above, we cannot guarantee a seamless driver experience if this is not done.
Call 0808 303 0629 and provide us with the following details to confirm the EV charger is live on our platform and carry out any electrical testing.
voltshare Charger ID: found on the QR code sticker
Serial No: found on the asset label of the EV charger
PIN: found on a sticker in front of the charging module behind the front cover
Take photos of the install and charger ID, parking space, and fuseboard from where the EV charger is wired. These help us provide owners and drivers more personalised experience.
The owner must now register the voltshare Charger ID on their app.
If the charger has been installed but not yet configured, please refer to the "new installation" tab in this page.
If your charger has already been configured on the Easee installer app, you will need the previous installer to access the EV chargers on their installer app or if you have access to the Easee owner's app, you can change the operator to "voltshare" then follow the below commissioning steps.
If your charger has already been configured on the Easee installer app but neither your installer nor you have access to the Easee app, you will need to first create an account on the Easee app then you will need to send us or Easee proof of ownership of your EV charger and inform that you would like to change the operator to "voltshare".
Easee will transfer ownership of the site to your new Easee account and set voltshare as the operator.
Place the QR code sticker on a flat surface of the EV charger; we cannot guarantee a seamless driver experience if the QR code sticker is placed elsewhere e.g. do not place it on the wall or on the post.
Affix the aluminium di-bond sign on the wall or post; this provides the driver with clear instructions on how to charge; as above, we cannot guarantee a seamless driver experience if this is not done.
Call 0808 303 0629 and provide us with the following details to confirm the EV charger is live on our platform.
voltshare Charger ID: found on the QR code sticker
Serial No: found on the asset label of the EV charger
PIN: found on a sticker in front of the charging module behind the front cover
Take photos of the install and charger ID, parking space, and fuseboard from where the EV charger is wired. These help us provide owners and drivers more personalised experience.
The owner must now register the voltshare Charger ID on their app.
It's never just "an EV charger". Find out what accessories are available directly from voltshare, to create your complete and reliable charging solution.
Most commercial EV chargers are situated far away from wireless networks, routers go offline and passwords change. Prevent revenue loss and connection drops with a dedicated IoT SIM card for your EV charger.


If your charger is accessible to members of the public, you may need to support contactless payment. Fear not as these hardware and associated accessories can be purchased directly and are fully integrated with voltshare.